Is there anything more enticing than a slice of red velvet cake? Its rich, velvety texture combined with the tangy cream cheese frosting makes it an unforgettable dessert. This cake is perfect for birthdays, anniversaries, or any celebration where you want to impress your guests with something special. With its striking red color and delicious flavor profile, it’s sure to be the star of the dessert table.
The combination of cocoa and buttermilk in the cake creates a moist and tender crumb, while the cream cheese frosting adds a delightful tanginess that perfectly balances the sweetness. Each bite is a harmonious blend of flavors that will leave everyone wanting more. Plus, decorating the cake is a fun and creative process that allows you to showcase your baking skills.
Creating the Perfect Red Velvet Cake Base
The foundation of any memorable red velvet cake lies in its base. This cake combines essential ingredients like all-purpose flour, granulated sugar, and cocoa powder, delivering a unique texture.
To achieve that signature moistness, buttermilk is essential. It not only adds flavor but also contributes to a tender crumb.
Don’t forget the vibrant red food coloring, which is crucial for that eye-catching hue. Mixing the dry and wet ingredients requires care; overmixing can lead to a denser cake, so combine gently until just incorporated.
Crafting the Cream Cheese Frosting
The cream cheese frosting is the crowning glory of this dessert. Its balance of sweetness and tanginess complements the rich cake beautifully.
Start by beating softened cream cheese and butter until smooth. Gradually add powdered sugar to avoid a sugary mess and achieve that creamy texture.
A splash of vanilla extract not only enhances the flavor but also marries the richness of the frosting with the cake’s profile. This frosting is not just for flavor; it also provides a beautiful finish for decoration.
Layering for Visual Appeal
Once your cake layers have completely cooled, the fun begins with assembly. Place one layer on your serving plate, and generously spread the cream cheese frosting on top.
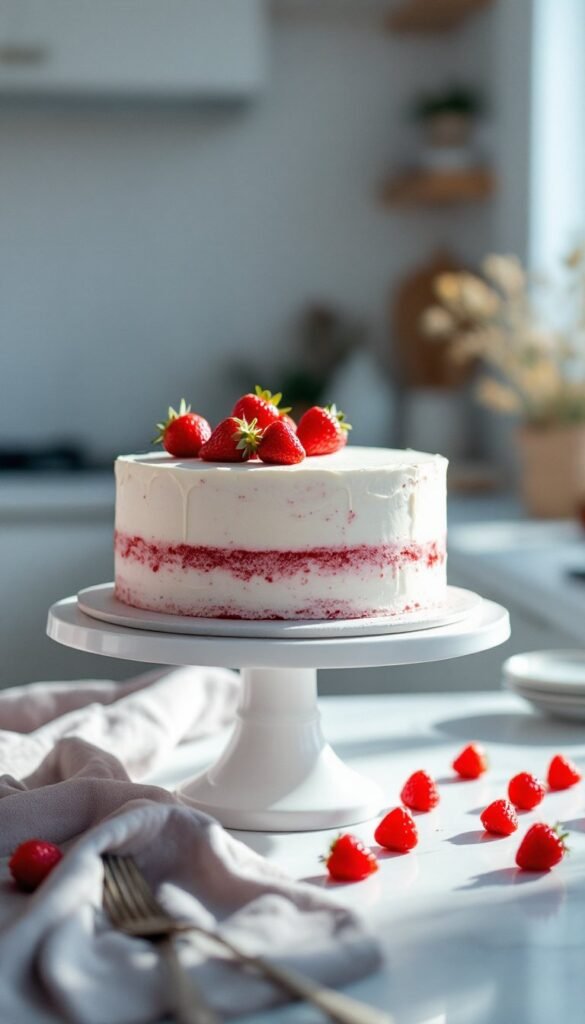
Then, carefully place the second layer on top, ensuring it sits evenly. Frost the entire cake to create a smooth, cohesive look.
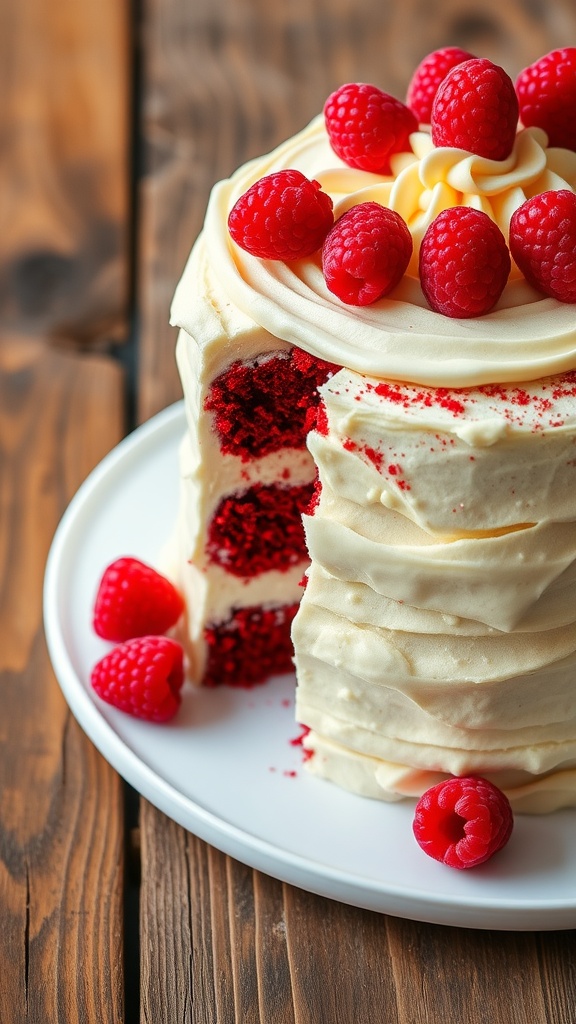
Layering creates depth and allows the vibrant red color to peek through the creamy frosting, making it a visual delight.
Decorating with Style
Decoration is where creativity can shine. A simple swirl of frosting on top can elevate the cake’s appearance significantly.
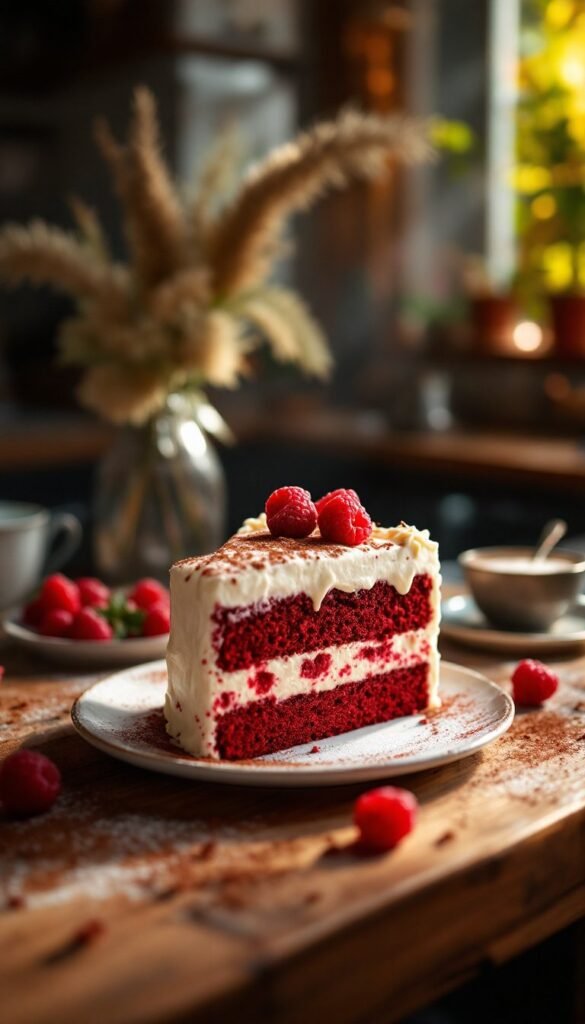
For an added touch, consider garnishing with fresh raspberries. Their bright color adds contrast and freshness, enhancing the overall presentation.
Using a rustic wooden table as a backdrop further emphasizes the cake’s charm, making it an inviting centerpiece for any gathering.
Serving and Enjoying the Dessert
When serving, slice the cake into generous portions to showcase the beautiful red layers and creamy filling. Each slice should reveal the delightful contrast between the cake and frosting.
This red velvet cake is perfect for various occasions, from birthdays to casual gatherings. Its visual appeal alongside its rich flavor makes it a crowd-pleaser.
Consider pairing with a dollop of whipped cream or a scoop of vanilla ice cream to complete the experience.
Tips for Success
To ensure your red velvet cake turns out beautifully, here are some helpful tips. Always measure ingredients accurately; this is crucial for baking success.
Make sure your ingredients, especially eggs and buttermilk, are at room temperature to help create a smooth batter. Additionally, using fresh baking powder and baking soda can make a difference in the rise and texture of the cake.
Finally, allow the cake to cool completely before frosting. This prevents the frosting from melting and ensures a neat, attractive finish.
A Classic Red Velvet Cake Recipe

This red velvet cake is a moist and flavorful dessert that combines the subtle taste of cocoa with a hint of vanilla. The cream cheese frosting is smooth and rich, making it the ideal complement to the cake’s texture. It’s a delightful treat that’s not only beautiful but also satisfying to eat.
Ingredients
- 2 cups all-purpose flour
- 1 1/2 cups granulated sugar
- 1 teaspoon baking soda
- 1 teaspoon salt
- 1 tablespoon cocoa powder
- 1 cup vegetable oil
- 1 cup buttermilk, at room temperature
- 2 large eggs, at room temperature
- 2 tablespoons red food coloring
- 1 teaspoon vanilla extract
- 1 teaspoon white vinegar
- 8 oz cream cheese, softened
- 1/2 cup unsalted butter, softened
- 4 cups powdered sugar
- 1 teaspoon vanilla extract
Instructions
- Preheat the Oven: Preheat your oven to 350°F (175°C). Grease and flour two 9-inch round cake pans.
- Mix Dry Ingredients: In a large bowl, sift together the flour, sugar, baking soda, salt, and cocoa powder.
- Combine Wet Ingredients: In another bowl, whisk together the oil, buttermilk, eggs, red food coloring, vanilla extract, and vinegar.
- Combine Mixtures: Gradually mix the wet ingredients into the dry ingredients until just combined. Do not overmix.
- Bake the Cake: Divide the batter evenly between the prepared pans. Bake for 25-30 minutes, or until a toothpick inserted in the center comes out clean. Let the cakes cool in the pans for 10 minutes before transferring to a wire rack to cool completely.
- Make the Frosting: In a medium bowl, beat the cream cheese and butter until smooth. Gradually add the powdered sugar and vanilla extract, mixing until creamy and well combined.
- Assemble the Cake: Once the cakes are completely cool, place one layer on a serving plate. Spread a generous amount of cream cheese frosting on top, then place the second layer on top. Frost the top and sides of the cake with the remaining frosting.
- Decorate: Optional – Decorate the top of the cake with sprinkles or fresh berries for an added touch.
Cook and Prep Times
- Prep Time: 20 minutes
- Cook Time: 30 minutes
- Total Time: 50 minutes
Nutrition Information
- Servings: 12 slices
- Calories: 350kcal
- Fat: 20g
- Protein: 4g
- Carbohydrates: 40g


